Technical guides
How to varnish wood step by step: a guide from the factory
From raw wood to finished furniture: moisture, sanding, sealer, layers, and topcoat. A step-by-step guide to varnishing like a professional, written from the ICLA factory in Guatemala.
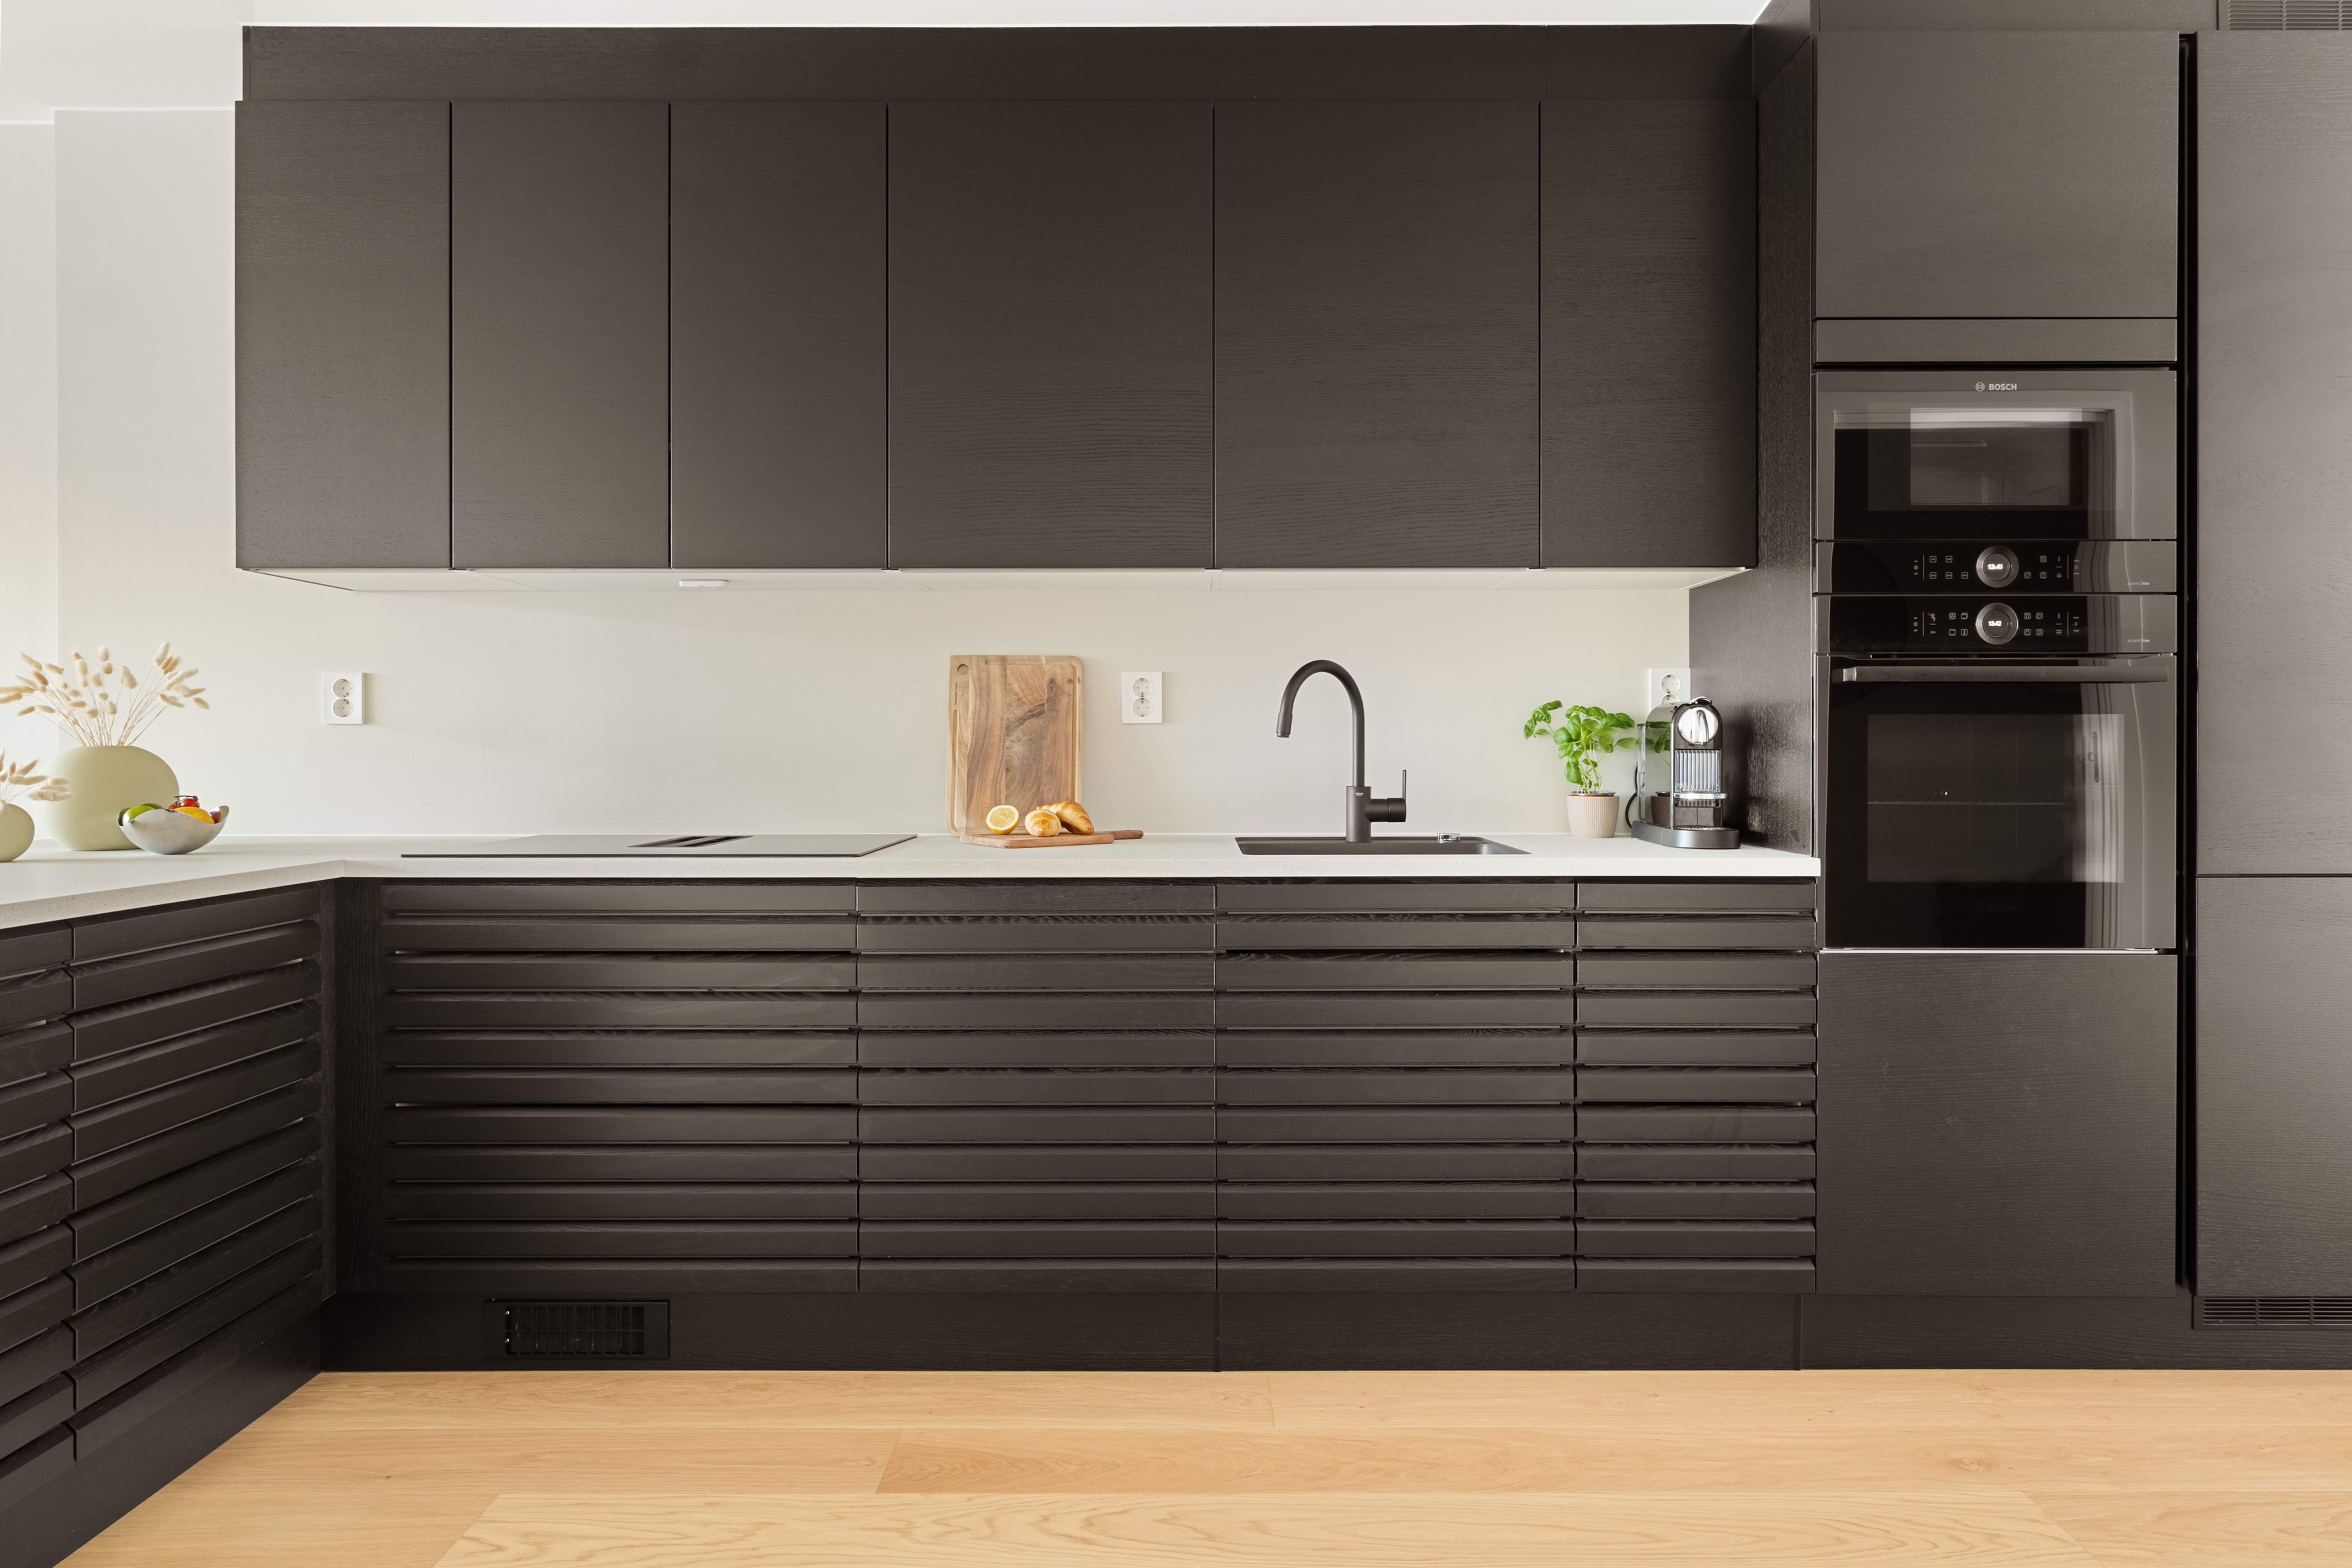
Varnishing well is not just about applying product: it is a complete process that begins long before you open the can. This step-by-step guide, written from the ICLA factory in Guatemala, takes you from raw wood to a professional final finish.## Step 1: Check the wood moistureBefore any sanding, measure the wood moisture with a hygrometer. It should be between 8% and 12%. In the climate of Guatemala, damp wood is the most common cause of bubbles, cracks, and loss of adhesion. If the wood is damp, wait — no varnish can compensate for that.## Step 2: Prepare the surface1. Sand with 80–100 grit to remove machine marks and irregularities, always with the grain.2. Move to 150–180 grit for surface finishing.3. Remove all dust with a clean cloth or compressed air. Never use water directly.For open-pore woods (cedar, pine, conacaste), consider a sealer to close the pore before continuing.## Step 3: Define your system according to the objective- See the natural grain: stain (adds color and accentuates the grain without smudging) → isolator (protects and prepares) → transparent sealer → topcoat.- Solid color / lacquered (typical on MDF): pigmented sealer (fills the pore and creates a uniform base) → pigmented topcoat in the desired shade, matte, satin, or glossy.Always use products from the same system and manufacturer to ensure chemical compatibility between layers.## Step 4: Apply the sealer or primerApply the first coat with a spray gun (recommended industrial method) or brush for small jobs. Let it dry according to the product instructions. In pigmented sealer systems, apply two coats without sanding between them; sand only before the topcoat, with 320 grit.## Step 5: Apply the topcoatApply 2–3 coats of topcoat, sanding between coats with 240–320 grit and removing dust before each new coat:- Glossy: do not sand the last coat.- Matte or extra smooth satin: sand with fine grit and polish.## Step 6: Maintain ambient conditionsWork in a dust-free space, without direct drafts and at a stable temperature. Suspended dust is the number one enemy of a flawless finish.## Mistakes you must avoid- Applying very thick layers "to save time" — they create drips and uneven drying.- Not respecting the drying time between coats.- Varnishing damp wood or on days of extreme humidity.- Mixing products from different manufacturers in the same system.## Need the exact system for your project?As a factory, at ICLA we produce sealers, stains, isolators, and topcoats that are compatible with each other, formulated for interior projects, with free technical advice. Tell us what furniture you are manufacturing and we will recommend the complete system: iclacoatings.com or WhatsApp +502 3994 8967.
Questions about your project?
Our technical team will help you choose the ideal product and finish.
Talk to an advisor